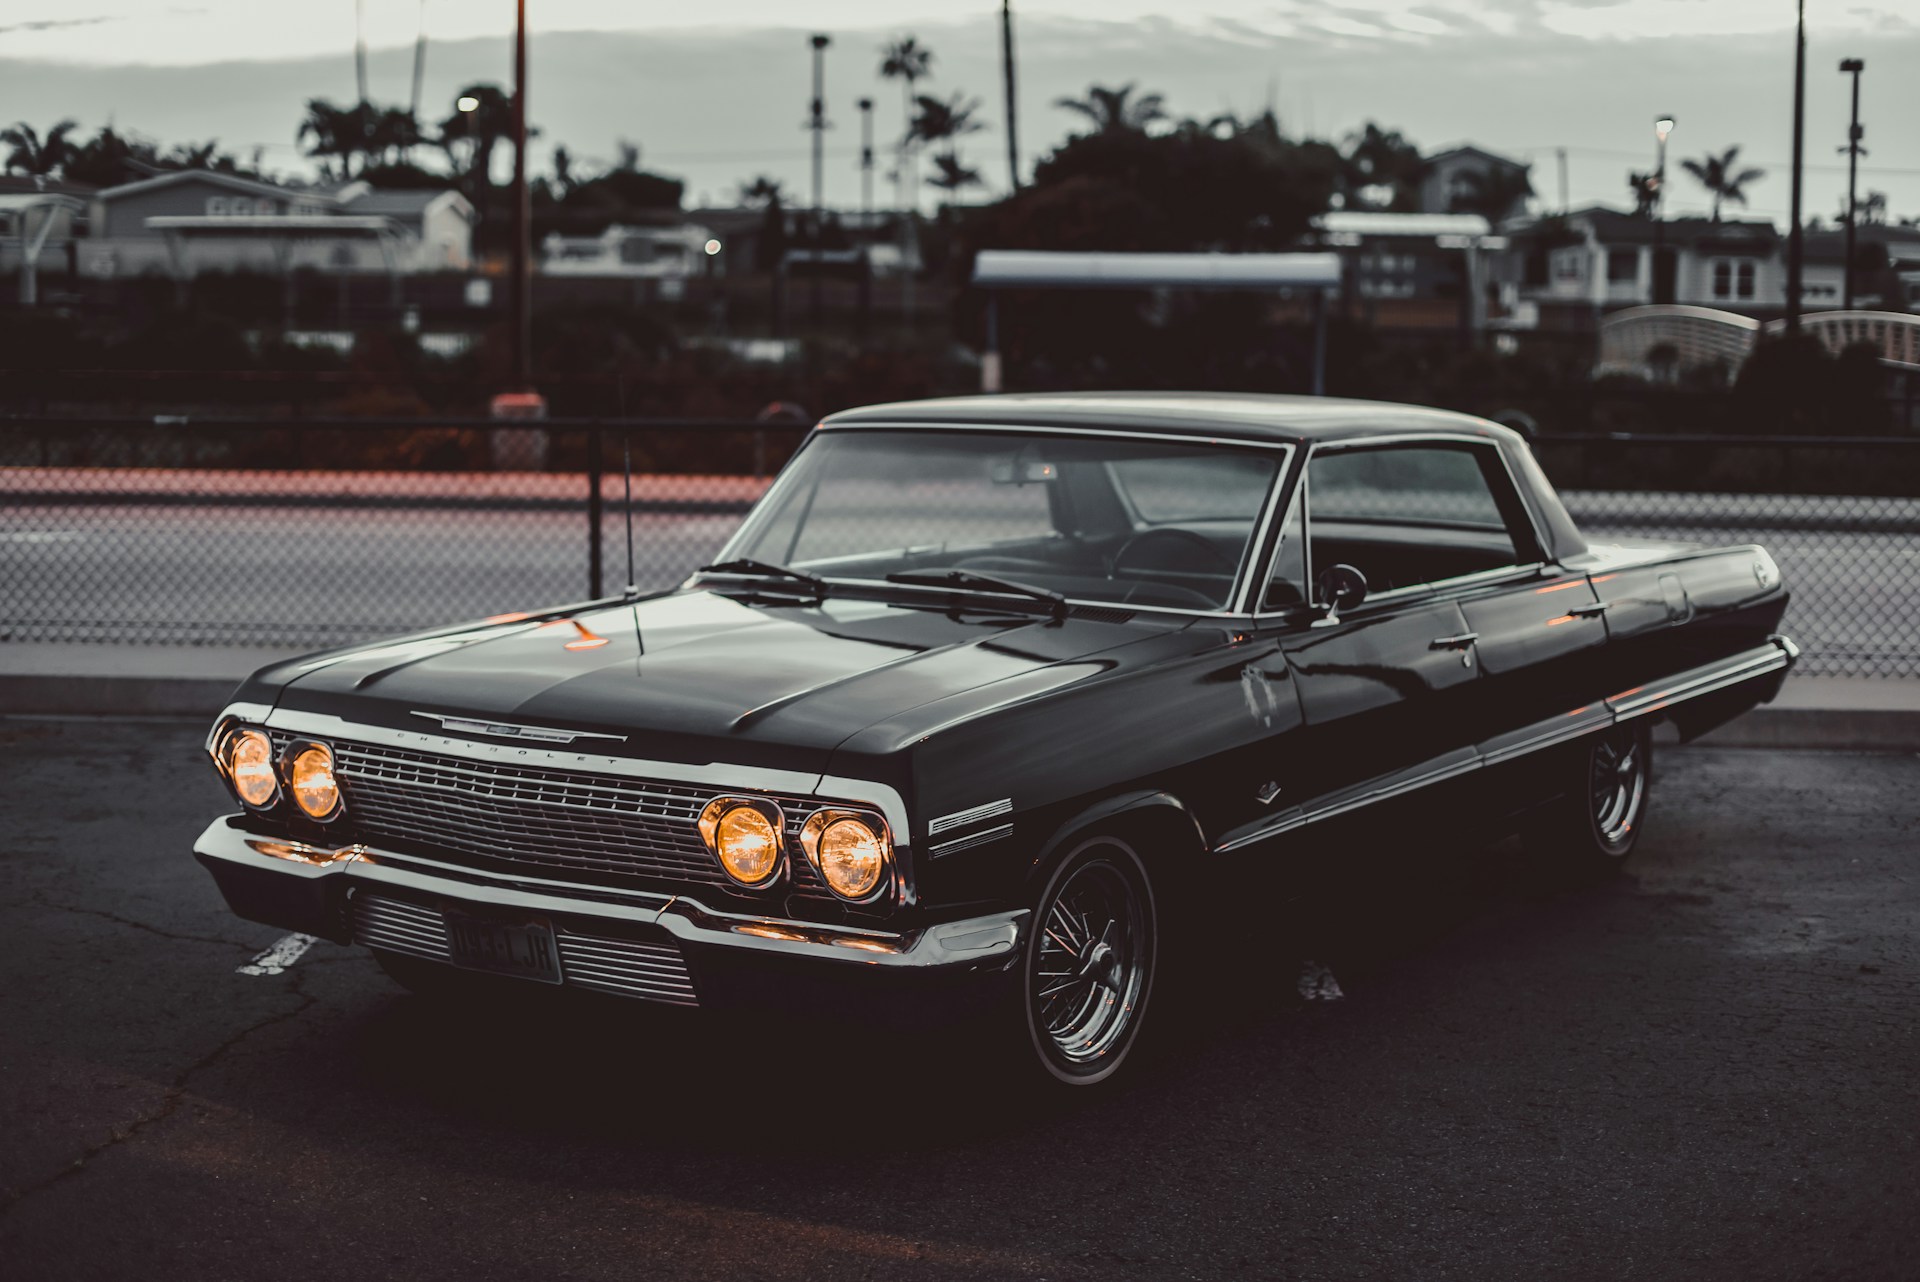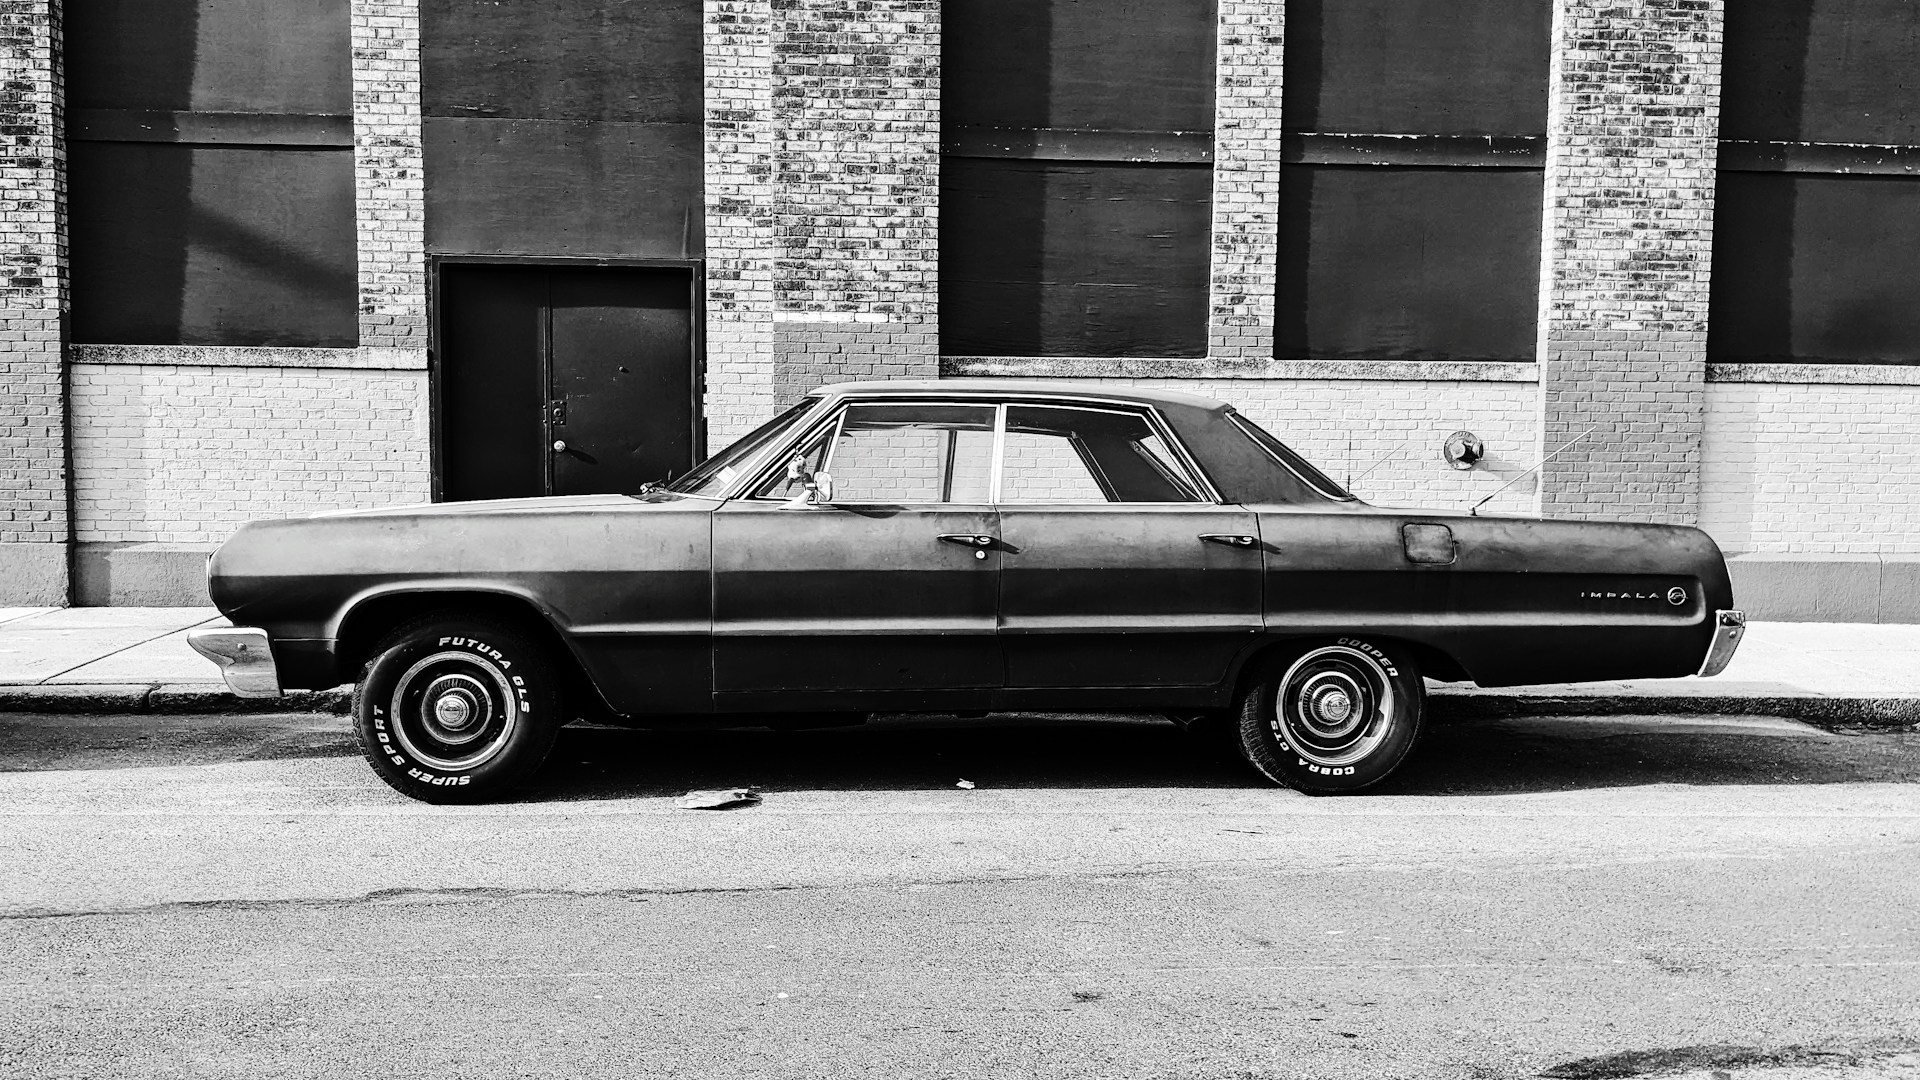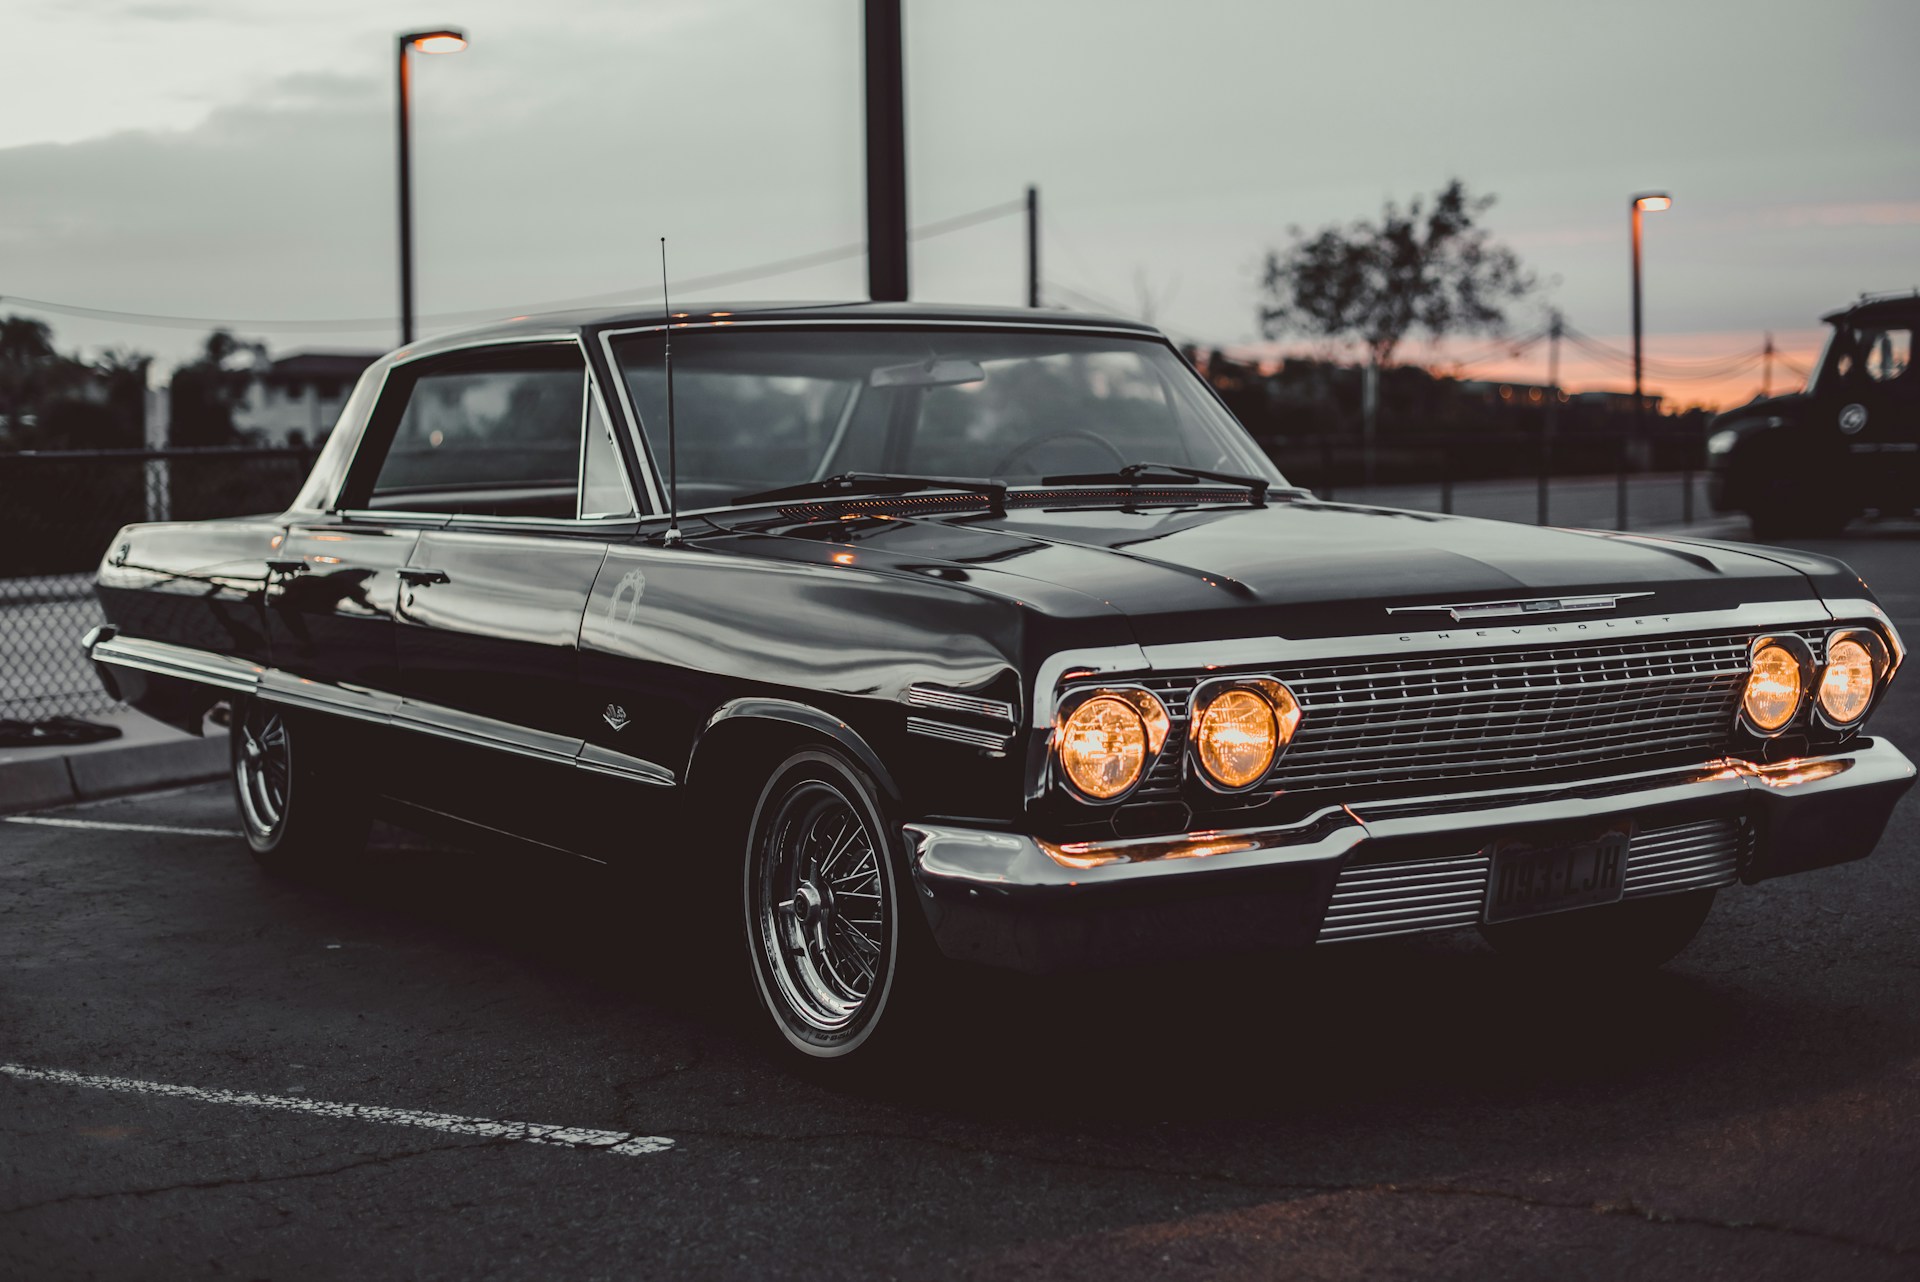
Refurbishing a classic car is a labor of love that combines passion for vintage automobiles with the satisfaction of hands-on craftsmanship. Whether you’re drawn to the elegant lines of a 1950s sedan or the muscular stance of a 1970s muscle car, the process of bringing a classic car back to life is both challenging and rewarding. Read on to find out more.
1. Choosing the Right Car
The first step is selecting the right car. Consider your budget, the availability of parts, and your own skill level. Some models have abundant aftermarket support, making them easier for beginners. Popular choices include the Ford Mustang, Chevrolet Camaro, and Volkswagen Beetle, which have a wealth of resources and parts available.
2. Assessing the Condition
Before purchasing, thoroughly inspect the car’s condition. Rust is a major concern in classic cars. Surface rust is manageable, but structural rust can be costly to repair. Check the frame, floor pans, and trunk for rust damage. Also, the engine and transmission condition must be assessed, as major mechanical repairs can be expensive.
3. Planning Your Project
Refurbishing a classic car requires meticulous planning. Decide on the level of restoration: Do you want a showroom-quality restoration, a daily driver, or a restaurant (restored and modified with modern features)? Set a realistic budget and timeline, keeping in mind that restorations often take longer and cost more than initially anticipated. Also, consider how you’ll be using the vehicle once it’s complete, whether it’s for casual drives or regular use, you may need to explore affordable car insurance options that fit your restoration goals.
4. Sourcing Parts and Materials
Finding the right parts is crucial. OEM (Original Equipment Manufacturer) parts are ideal for authenticity but can be expensive and hard to find. Reproduction parts are more affordable and readily available. Join car clubs, forums, and online marketplaces to locate rare parts and get advice from fellow enthusiasts. When sourcing parts, you will need to factor in the cost and logistics of shipping and delivery. The good news is that there are companies out there that specialize in shipping engines safely.
5. Disassembly
Begin the restoration by carefully disassembling the car. Label and catalog every part and take photos to aid in reassembly. This step is tedious but crucial for a smooth rebuild process.

Store small parts in labeled containers and larger parts in a clean, organized space.
6. Bodywork and Paint
Bodywork is often the most labor-intensive part of the refurbishment. Strip the old paint and repair any rust damage. This may involve welding in new metal panels. Once the body is smooth and rust-free, apply a primer, followed by the paint and clear coat. Professional paint jobs yield the best results, but with patience and the right equipment, a high-quality DIY job is possible. When you’re done polishing your vehicle, it’s important to dry it thoroughly to prevent water spots; you can easily order car drying towels online to ensure a streak-free finish.
7. Engine and Transmission Rebuild
Rebuilding the engine and transmission can be daunting but is essential for a reliable classic car. Consider whether to rebuild the original engine or swap it for a modern one. A rebuild involves cleaning, machining, and replacing worn parts like pistons, bearings, and seals. Professional help might be necessary unless you have advanced mechanical skills.
8. Suspension and Brakes
Modernizing the suspension and brakes can improve the car’s handling and safety. Replace old bushings, shocks, and springs with new components. Upgrading to disc brakes, if the car originally had drum brakes, is a common and recommended modification for better stopping power.
9. Interior Restoration
The interior should match the exterior’s quality. Reupholster seats, replace carpets and restore the dashboard and trim. Pay attention to details like door seals and window weatherstripping to ensure a comfortable ride. Modern amenities like air conditioning or a new sound system can be added without compromising the car’s classic appeal.
10. Reassembly and Final Touches
Reassembling the car is like putting together a complex puzzle. Refer to your photos and notes from the disassembly stage.

Take your time to ensure everything fits correctly and functions as it should. Once the car is reassembled, conduct thorough testing to make sure it’s road-ready.


