When the sweltering heat of summer hits, there’s nothing quite like the cool relief an air conditioner can provide. But what happens when you’re left with the task of installing one yourself? It might seem daunting, but I’m here to tell you it’s not as complicated as it appears.
In this article, we’ll demystify the process of air conditioner installation. We’ll break it down into manageable steps, ensuring that you don’t have to sweat over the task at hand. So, let’s gear up to beat the heat together and make your home a cool haven this summer.
Types of Air Conditioners
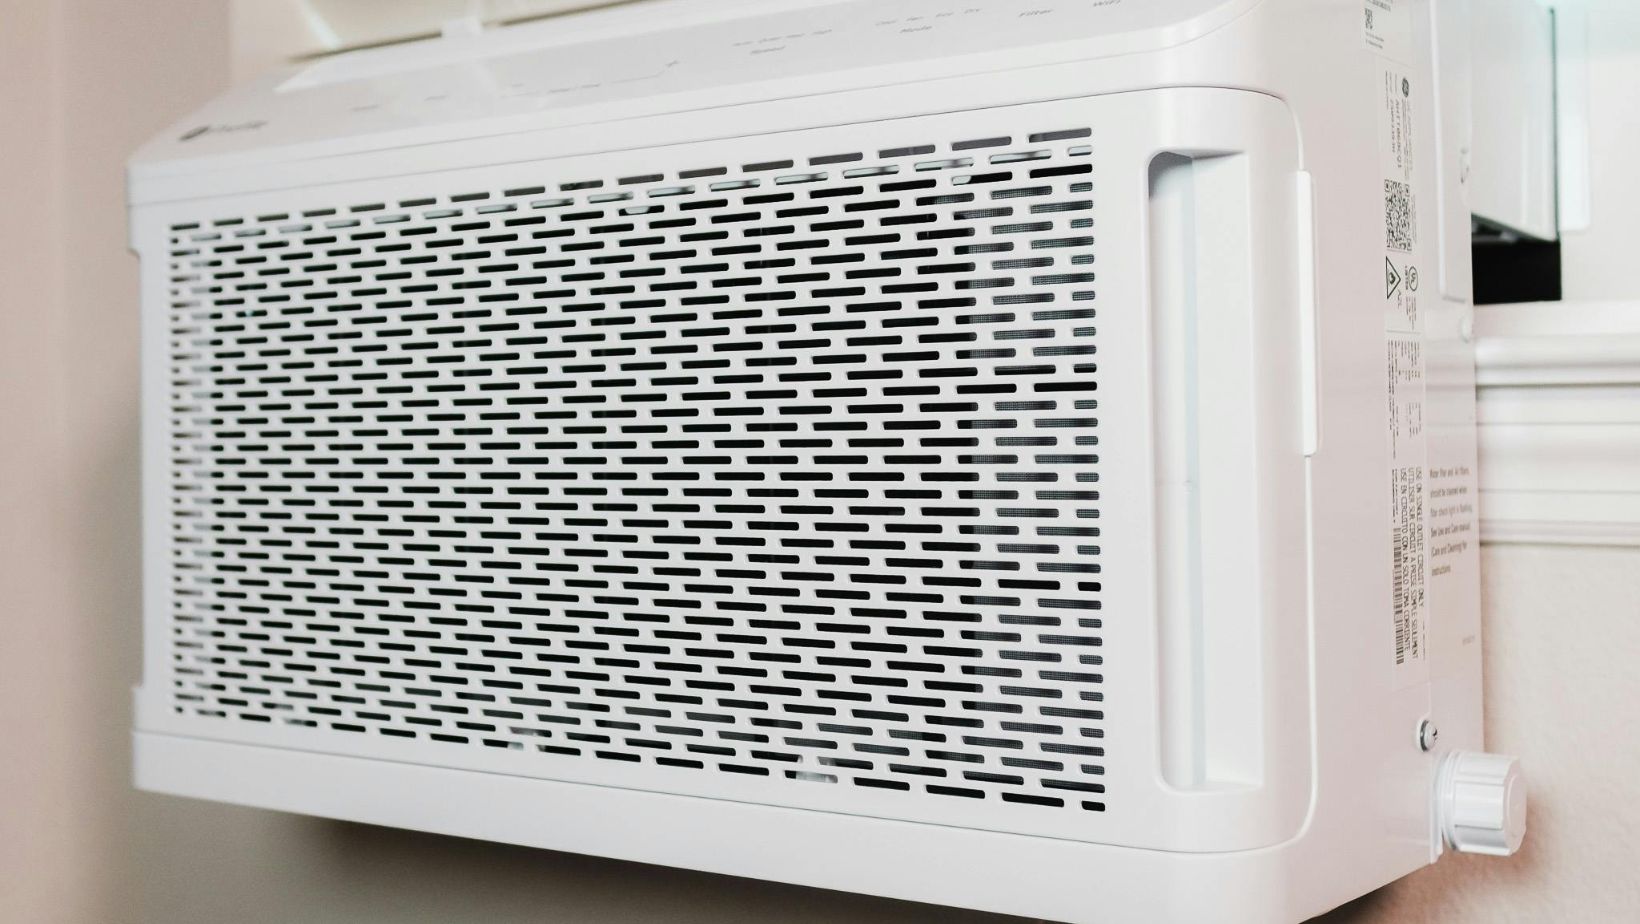
Window Units
Window Units, often seen in compact apartments, stand as one of the simplest forms of air conditioners to install. Compact in size, they fit comfortably in regular window frames. Balancing in the windowsill, these units expel hot air outside and provide cool air inside. Let’s say you’re in Glendale, CA, where temperatures can peak during the summer. In such scenarios, a window unit might just be your quick and economic fix for a cooler home.
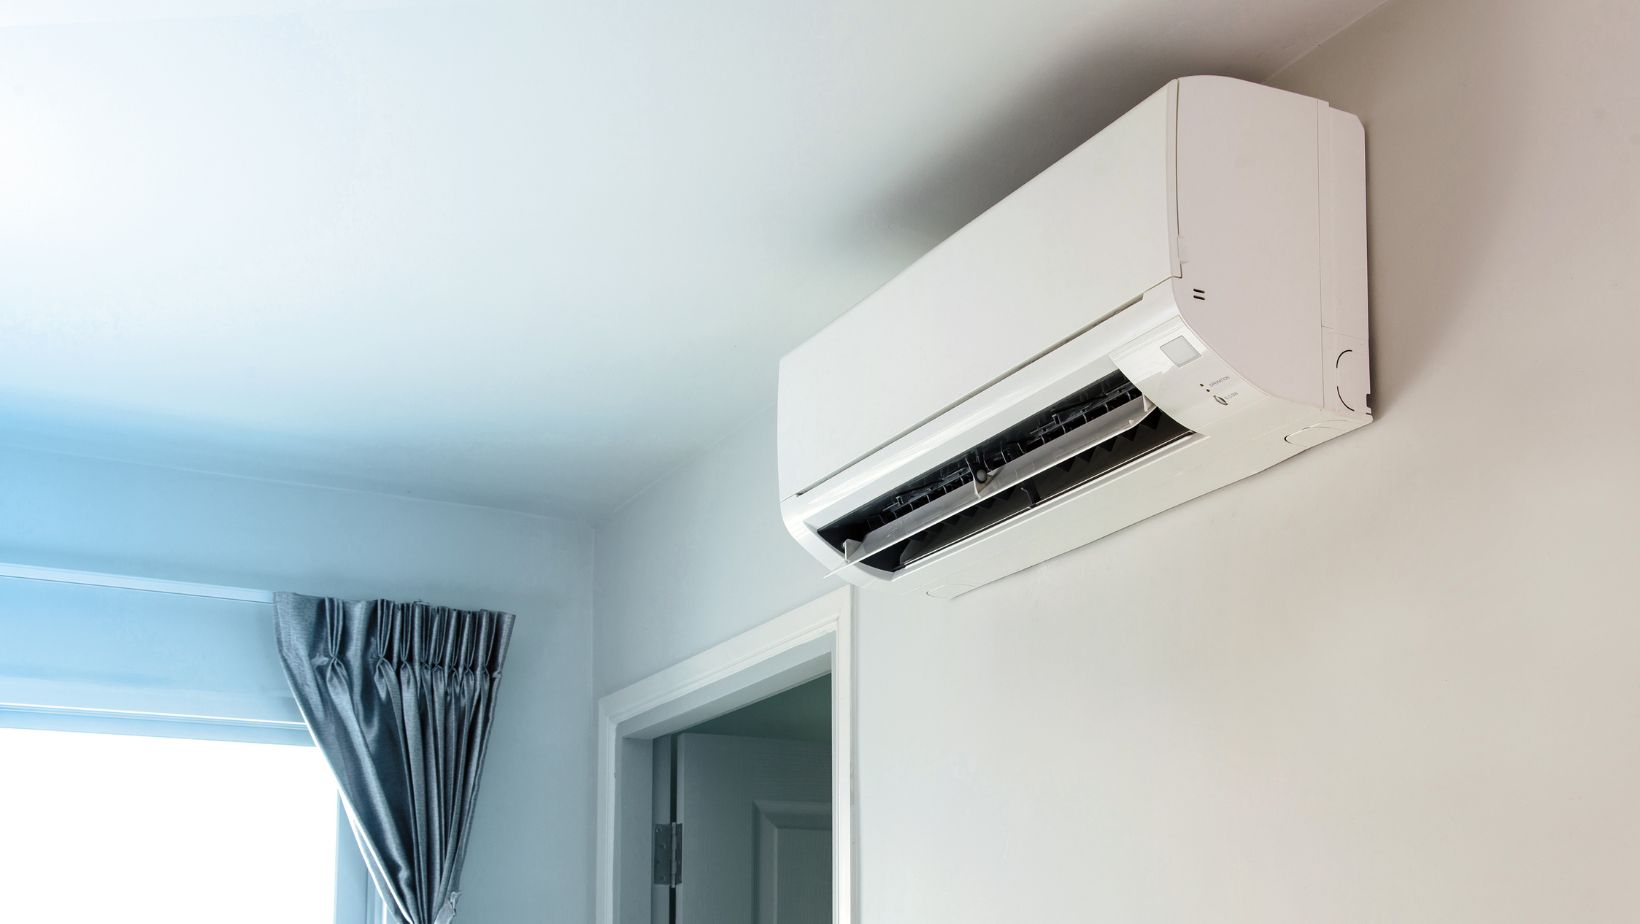
Split Systems
Split systems, comprising of two units–an indoor and an outdoor one, enter the scene with their unique advantages. Succinctly put, the indoor unit cools the room while the outdoor unit disposes of the heat. This division eases installation, purportedly needing only a small hole in the wall for copper tubing. So, if you often fret about the Glendale, CA heat, installing a split system might just be the way to go.
Central Air Conditioning
Central Air conditioning, when you have a large property or when you simply want the whole house at the same temperature, is your knight in shining armor. Extensively, people with bigger homes prefer this type as it provides uneven cooling across rooms. Yes, the installation might involve intricate ductwork and higher costs, but the comfort it brings under the scorching summer sun in Glendale, CA could tip the scales in its favor.
Tools and Materials Needed
Let’s dive into what tools and materials you’ll need for the air conditioner installation process. Depending on the type of AC, you might require specific tools and materials.
Common Tools for Installation
For most AC installations, certain tools are ubiquitous. For example, a Screwdriver, a simple tool, proves to be a fundamental requirement in various installation steps. Besides, having a Drill on hand, especially when mounting an air conditioner on a wall or window, comes in handy. Additionally, you’ll also find a Level useful. This tool helps to ensure the air conditioner is mounted straight. Finally, a Tape Measure comes to the rescue while sizing up the space for installation and checking the fitting of the unit.
Specific Materials per AC Type
Different AC types call for unique materials. Take window units, for example. You’d typically need an Installation Kit that contains things like brackets and weatherstrips. This kit is useful for securing the air conditioner in place and insulating the installed unit from outdoor elements.
For split systems, a Line Set is a must-have. This set comprises copper tubing that links the indoor and outdoor units, an essential requirement for efficient cooling.
Installing central air conditioning, on the other hand, requires a whole new set of materials. In these cases, things like a Thermostat Wire, a Plenum, Ductwork, and an Insulation Blanket are necessary. These materials not only facilitate proper installation but also contribute to the overall efficiency of the unit.
Remember, the specific materials and tools needed can vary depending on the model and brand of air conditioner. So, always refer to the user manual provided with your AC unit. And if in doubt or needing AC repair in Glendale, CA, don’t hesitate to seek professional help.
Pre-Installation Preparation
Measuring and Selecting Appropriate Space
A prerequisite to understanding how to install an air conditioner involves picking out an optimum location. For instance, if we’re dealing with window units, we must ensure the window size matches the AC unit. Additionally, when installing split systems, it’s critical to confirm both the indoor and outdoor units are level and secure and that the connecting pipes can reach each other.
Concerning central air conditioning, plots must allow for ductwork and the central unit installation without blocking access to other utilities. For selecting appropriate spots, a measure tape makes it easy to compare available space with the AC’s dimensions.
That said, there are several thumb rules to follow. Try keeping the AC out of direct sunlight and away from heat sources, with at least 20 inches of open space, to avoid overheating and ensure proper air circulation. Access to a power source within reach, preferably without the need for an extension cord, also plays a part in the decision.
Safety Considerations
When learning how to install an air conditioner, safety can’t be understated. First, always switch off the power supply before beginning the process. This reduces the risk of electric shocks. Then, protective gear like safety glasses and gloves ensures one remains unscathed from sharp edges and electrical components.
Additionally, the condenser units, especially in split system installations, might be quite hefty. Lifting them without proper assistance or measures might lead to injuries. Hence, employing a lifting tackle or seeking help from others proves beneficial.
Step-by-Step Installation Guide
In this guide, I’ll provide detailed instructions on how to install different types of air conditioning systems. Be mindful, these steps are for informational purposes and it’s always recommended, especially in complicated cases like a central air conditioning setup, to call up the experts for AC repair in Glendale, CA, or other areas. Let’s delve deeper into the process.
Installing a Window Air Conditioner
- Unbox the Unit: Carefully remove the air conditioner from its packaging and confirm there are no damages. Make sure every component mentioned in the user manual is present.
- Position the Unit: Let’s slide the air conditioner into the previously measured and prepared window space, ensuring it’s secure and balanced.
- Install Side Panels: Attaching side panels creates a seal. It prevents cool air loss and limits the entry of outside air and pests.
- Securing the Unit: Connect the window air conditioner to the window frame using the mounting brackets provided. It’ll make sure the unit stays in place for optimal performance.
- Connect to Power: Once securely installed, insert plug into the power socket, keeping safety protocols in mind.
Setting Up a Split System
- Mount the Indoor Unit: Select a wall that allows for proper indoor airflow. Let’s install a mounting plate and hang the indoor unit onto it, ensuring it’s firmly attached.
- Install the Outdoor Unit: Choose an open space for accurate heat exchange. Once chosen, secure the outdoor unit on a stable surface or with a bracket.
- Connect the two Units: For the crucial part of setting up a split system, we’ll run a cable between the indoor and outdoor units. This electrical work often requires an expert’s touch, considering the safety aspects.
- Check Functioning: After successful installation, it’s time to check if everything functions as expected.
Installing Central Air Conditioning
For central air conditioning, the process involves plenty of electrical work, ductwork modifications, and critical steps. It’s typically more complex than other systems, often requiring professionals like those offering AC repair in Glendale, CA.
- Prepare for Installation: Before starting the process, an HVAC technician will plan the system layout and make appropriate measurements.
- Install Evaporator Coil: The evaporator coil is installed in the existing furnace system. It’s precisely connected to the outdoor unit via refrigerant lines.
- Connect to a Thermostat: The central AC system requires a thermostat for controlling the temperature. It’ll get appropriately wired to the AC unit.
- Test the System: Finally, professionals will conduct a system check, ensuring everything works smoothly and efficiently.
Remember, whenever you’re unsure, it’s always best to consult professionals for assistance or handling any AC installations instead of improvising.
Testing and Troubleshooting
After the meticulous process of installing an air conditioner, now comes the crucial stage. Testing and troubleshooting ensures the system’s perfect operation and eliminates any potential issues that could affect its performance. Let’s explore this phase more deeply.
Initial Testing
Completing the installation marks the beginning of initial testing. This process verifies that your newly installed system functions as expected. First, reconnect the circuit breaker and turn on the unit. Next, notice the sound it makes during operation. It’s meant to be smoothly run, exhibiting minimal noise. Lastly, pay attention to the cool air it’s casting out. A properly installed air conditioner, no matter it be a window unit, split system, or a central air conditioner, should provide a steady flow of cool air to effectively lower the room’s temperature.
Common Issues and How to Fix Them
Despite meticulous installation, sometimes issues do occur. One common problem is the AC not cooling. Often, it’s due to low refrigerant levels, which a coolant top-up from a professional service provider, such as an AC repair in Glendale, CA, will rectify.
Another issue is water leakage from the unit, typically resulting from clogged drain lines. Regular maintenance often solves this problem.
If the air conditioner makes loud noises, it indicates a possible fan issue. In such cases, expert intervention might be crucial.
Remember, while fixing minor issues could be achievable, complex problems demand an expert’s look. If troubles persist even after consistent efforts, it’s wise to seek professional help. They have the required skill set and equipment to effectively troubleshoot and repair your air conditioner. It maintains the life span of your system and ensures its efficient operation.
Maintenance Tips Post-Installation
After installing your air conditioner, it’s critical to follow proper maintenance measures to ensure sustained performance. Below, I’ll share some essential upkeep tips you can follow post-installation.
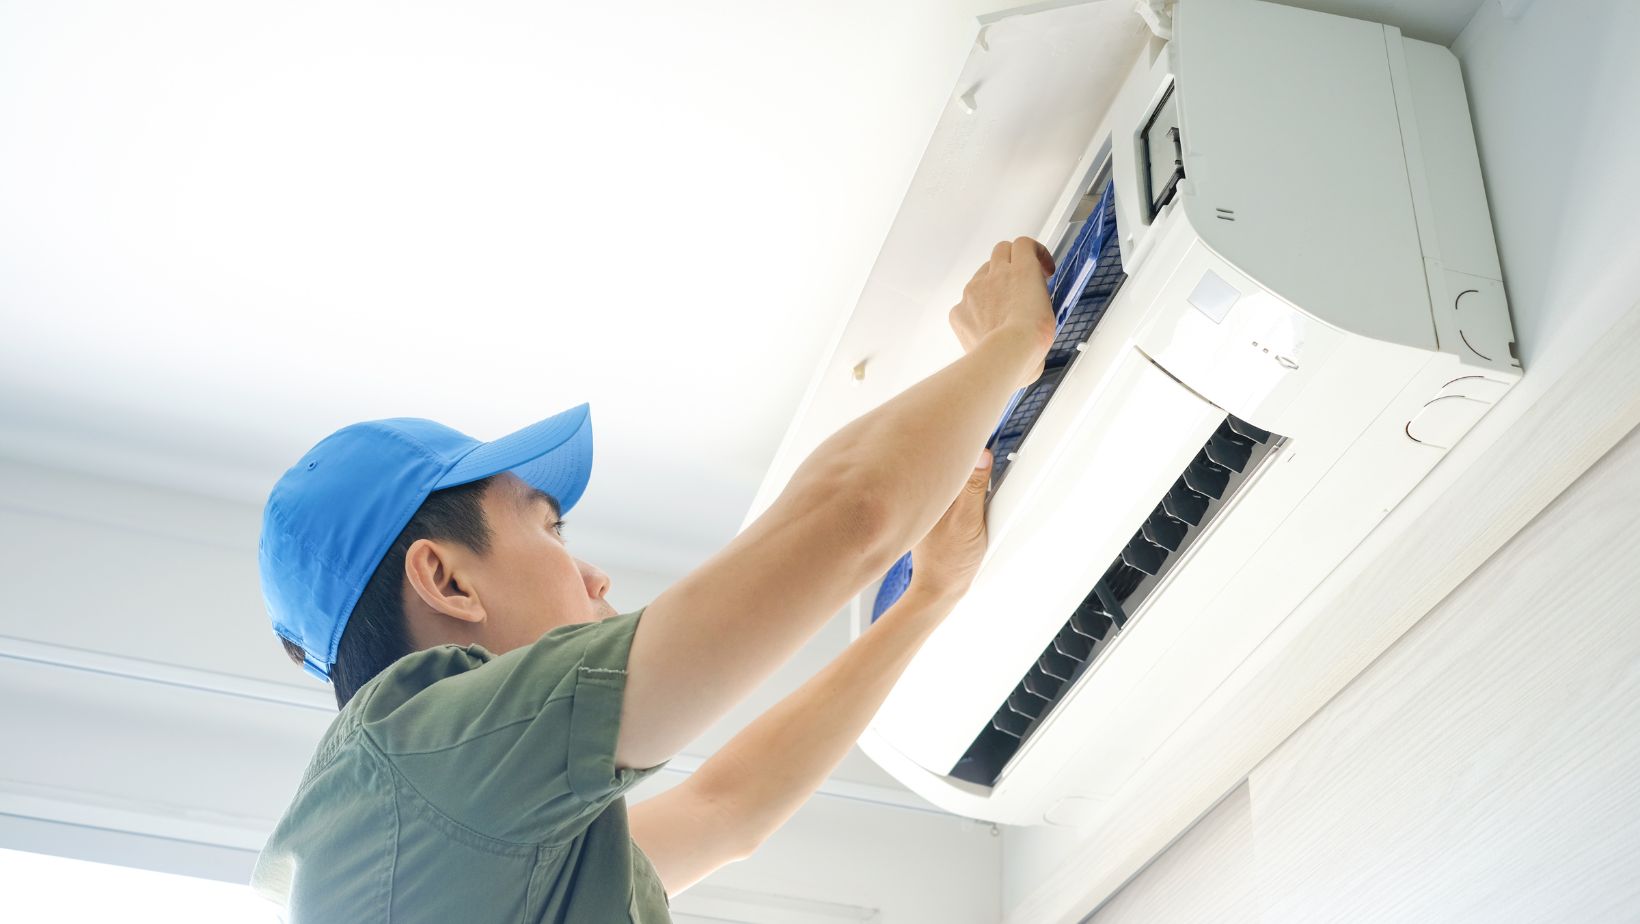
Regular Cleaning
Cleaning your air conditioner on a regular basis plays a pivotal role in its efficiency. Accumulated dust and dirt in the filters often lead to obstructed airflow and diminished cooling capacity. Here’s how to effectively clean your newly-installed air conditioner:
Daily Cleaning – Use a damp cloth to clean the outer surface of the air conditioner preventing any dust accumulation. Avoiding usage of chemical solvents prevents discoloration or damage to the air conditioner surface.
Monthly Cleaning – Detach and clean the air filters regularly. This can be done by gently washing the filters with mild soap and warm water. However, for models with replaceable filters, simply swap them out as suggested by the manufacturer.
Yearly Cleaning – For a thorough cleaning, which includes parts like coils and drains, consider hiring a professional service, such as AC repair in Glendale, CA. Professionals use specialized cleaning agents and have the expertise to handle more intricate components.
Seasonal Checks and Servicing
Seasonal servicing and regular checks help maintain the performance of the air conditioner installed. Here’s an optimal servicing routine:
Beginning of Cooling Season – Check your air conditioner for any anomalies in performance. Inspect critical components like the thermostat, controls, and filters for functionality and efficiency. If anything seems off, consider professional help.
During Cooling Season – Maintain regular checks on the cooling capacity and temperature control. Look out for abnormal noise or warm air being released. This may indicate a need for repair or servicing.
End of Cooling Season – This is the best time for a professional tune-up. Services like AC repair in Glendale, CA, can help prepare your air conditioner for the upcoming cycle of operation.
Remember, a well-maintained air conditioner not only improves your cooling experience but also extends the lifespan of the device.