Wall paneling has made a huge comeback in interior design, and it’s easy to see why. Not only does it add style and character to a space, but it’s also practical—helping to disguise uneven walls, improve insulation, and bring a touch of sophistication to any room. Whether you’re looking to create a cozy reading nook or a bold feature wall, wood panelling is a great way to transform your home.
The best part? It’s an achievable weekend DIY project. Ready to get started?
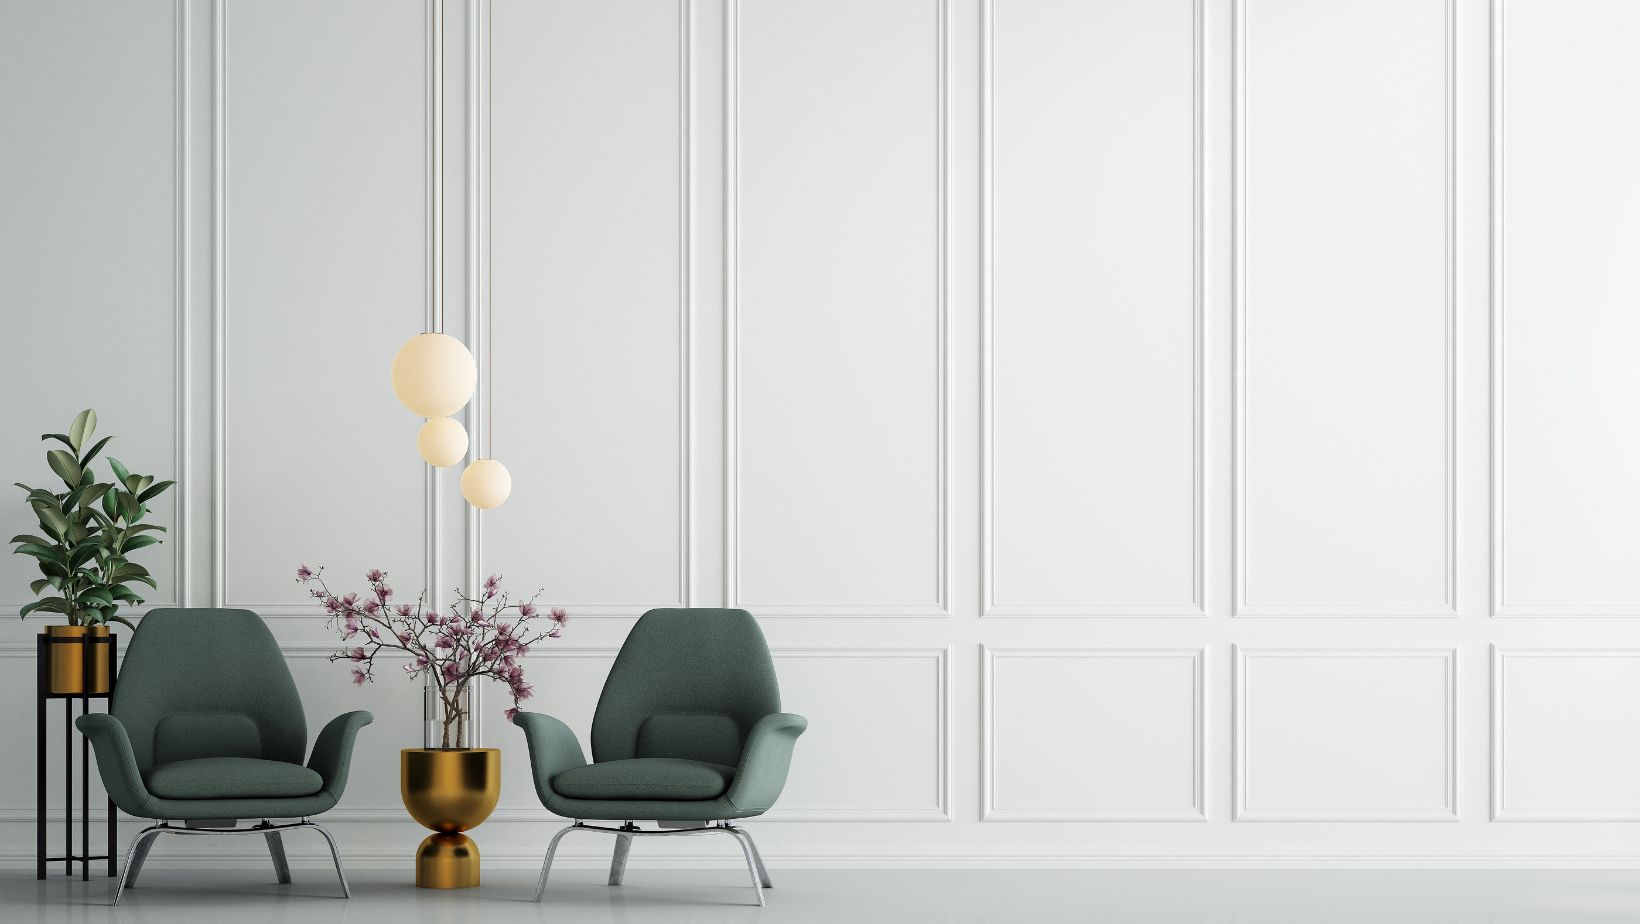
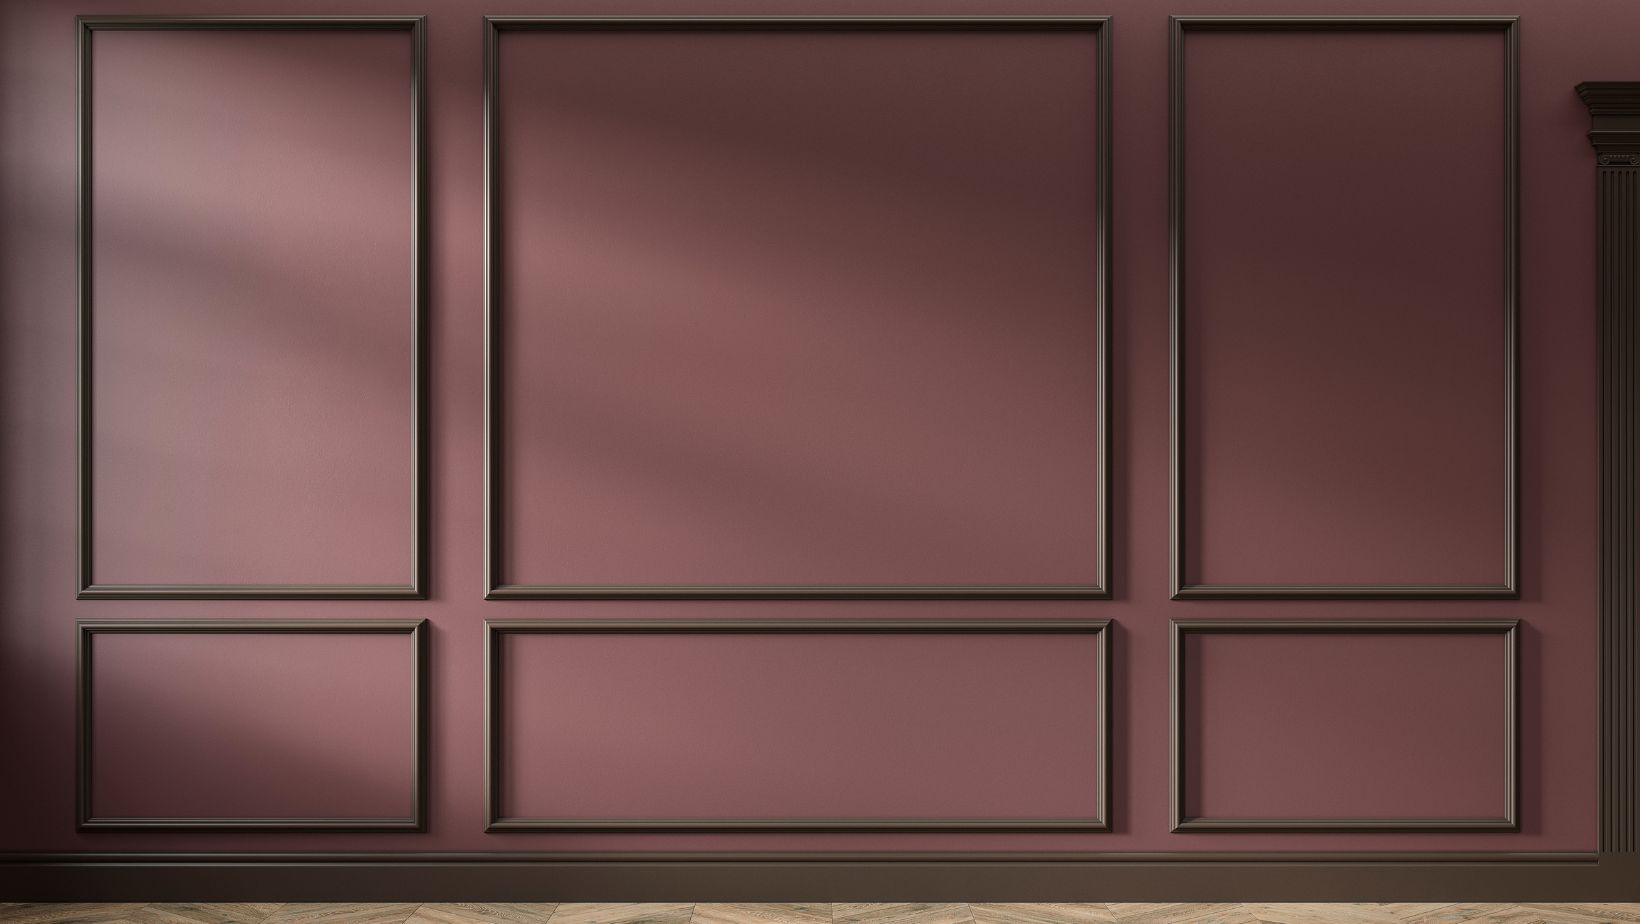
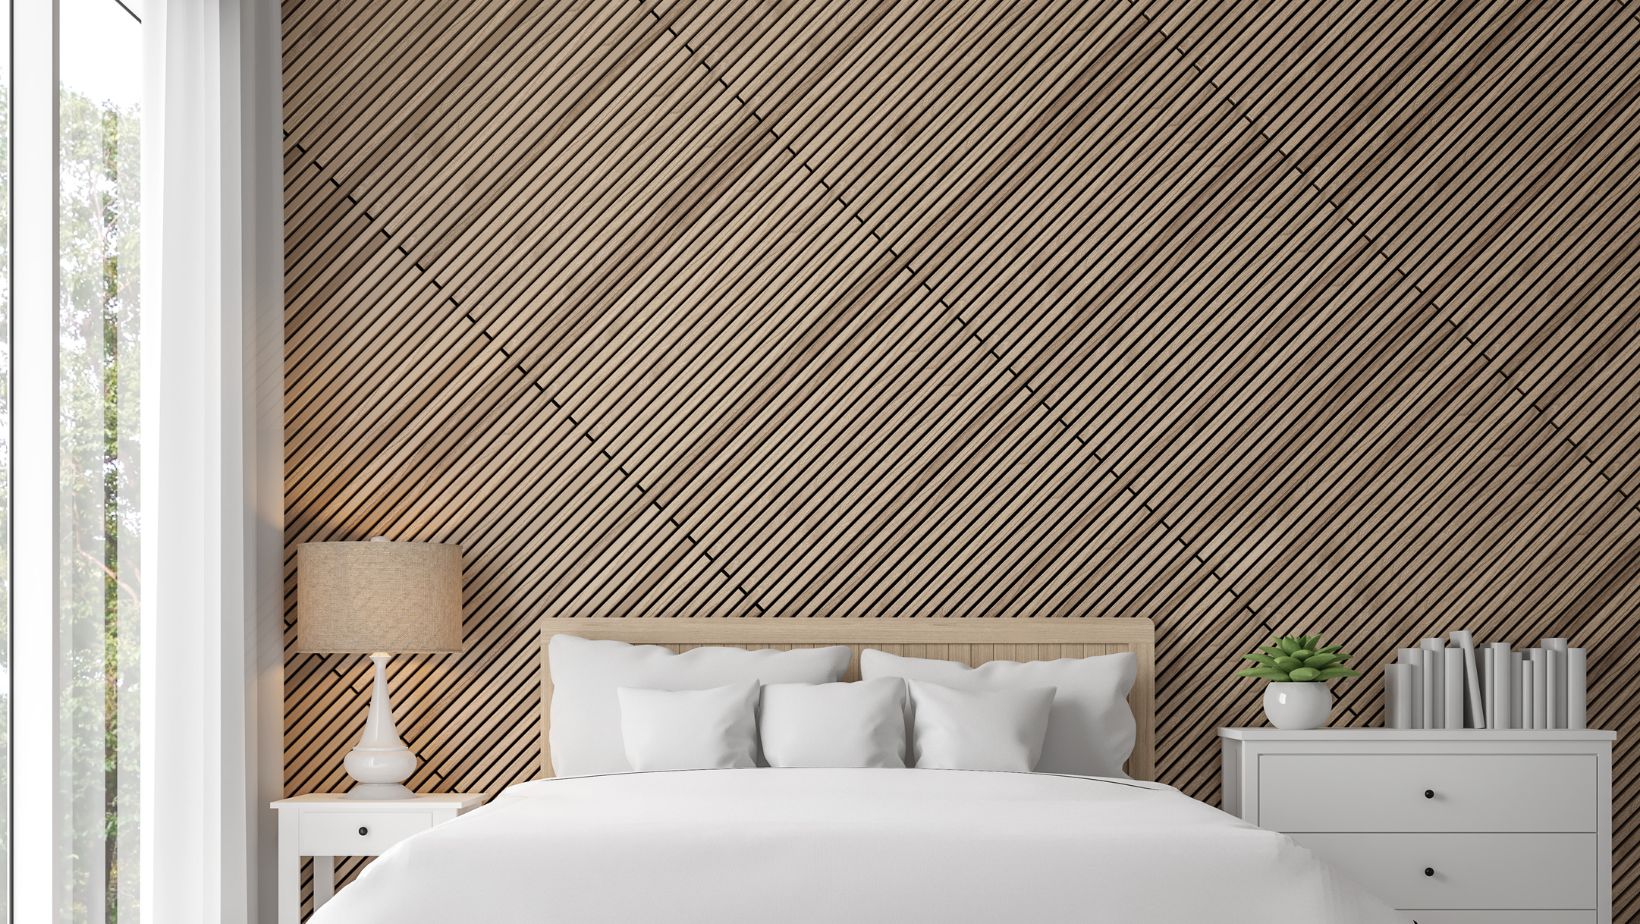
Choosing Your Panelling Style
Before you dive in, decide on a style that suits your space. Here are some popular options:
Shaker-style paneling – Featuring clean, simple lines, this timeless look works beautifully in both classic and modern interiors. Ideal for living rooms and bedrooms.
Beadboard paneling – With its charming vertical grooves, beadboard brings a warm, cottage-like feel, making it perfect for kitchens or bathrooms.
Board and batten paneling – A bold choice with a structured, geometric pattern, often used to make a statement in hallways or on feature walls.
Slatted paneling – A sleek, modern option that also improves a room’s acoustics, making it ideal for contemporary spaces.
Once you’ve picked your style, it’s time to gather your materials.
What You’ll Need
Planning and Measuring
Measure your wall carefully and sketch out your design. If you’re aiming for a grid pattern, use masking tape to outline it directly on the wall to get a visual sense of the layout.
Double-check your measurements—accuracy is key for a polished finish.
Materials Checklist
Medium-density fibreboard (MDF) panels (pre-cut or ready to be cut to size)
Strong adhesive (such as No More Nails)
Decorator’s caulk
Primer and paint of your choice
Saw (a miter saw is ideal, but a hand saw works too)
Sandpaper
Spirit level
Caulking gun
Paintbrushes and rollers
Wall Preparation
Remove any nails, hooks, or debris from the wall.
Sand down any rough areas for a smooth surface—this ensures better adhesion.
Installing Your Wall Panelling
1. Cutting the Panels
Using your measurements, cut the MDF panels to size. A miter saw will make the process quicker, but a steady hand and a regular saw will do the job just fine. Sand down any rough edges for a neat finish.
2. Fixing the Panels to the Wall
Apply adhesive to the back of each panel and press it firmly against the wall. Start with the vertical pieces, checking with a spirit level to keep them straight. Once those are in place, add the horizontal strips, spacing them evenly.
3. Filling the Gaps
Once the adhesive has been set, use the decorator’s caulk to fill in any seams or small gaps. Smooth it out with a damp finger or a finishing tool for a seamless look.
4. Painting the Panels
MDF can absorb paint, so start with a primer to create an even base. Once dry, apply your chosen paint color. Use a brush for the edges and a roller for larger areas. Two coats usually give the best results.
Keeping Your Panelling Looking Its Finest
Now that your wall paneling is complete, maintenance is easy. Regular dusting and the occasional wipe-down with a damp cloth will keep it looking fresh. If any scuffs or marks appear over time, a quick touch-up with paint will make it look as good as new.
Final Thoughts
DIY wall panelling is an affordable and stylish way to give your home a makeover. Whether you prefer a classic or contemporary look, it’s a fantastic way to add texture and personality to your space. If you’re new to DIY, watching a few tutorial videos can help you feel more confident before getting started. And be warned—once you’ve transformed one wall, you might find yourself planning your next project!
We use cookies on our website to give you the most relevant experience by remembering your preferences and repeat visits. By clicking “Accept”, you consent to the use of ALL the cookies.
This website uses cookies to improve your experience while you navigate through the website. Out of these, the cookies that are categorized as necessary are stored on your browser as they are essential for the working of basic functionalities of the website. We also use third-party cookies that help us analyze and understand how you use this website. These cookies will be stored in your browser only with your consent. You also have the option to opt-out of these cookies. But opting out of some of these cookies may affect your browsing experience.
Necessary cookies are absolutely essential for the website to function properly. These cookies ensure basic functionalities and security features of the website, anonymously.
Cookie
Duration
Description
cookielawinfo-checkbox-analytics
11 months
This cookie is set by GDPR Cookie Consent plugin. The cookie is used to store the user consent for the cookies in the category "Analytics".
cookielawinfo-checkbox-functional
11 months
The cookie is set by GDPR cookie consent to record the user consent for the cookies in the category "Functional".
cookielawinfo-checkbox-necessary
11 months
This cookie is set by GDPR Cookie Consent plugin. The cookies is used to store the user consent for the cookies in the category "Necessary".
cookielawinfo-checkbox-others
11 months
This cookie is set by GDPR Cookie Consent plugin. The cookie is used to store the user consent for the cookies in the category "Other.
cookielawinfo-checkbox-performance
11 months
This cookie is set by GDPR Cookie Consent plugin. The cookie is used to store the user consent for the cookies in the category "Performance".
viewed_cookie_policy
11 months
The cookie is set by the GDPR Cookie Consent plugin and is used to store whether or not user has consented to the use of cookies. It does not store any personal data.
Functional cookies help to perform certain functionalities like sharing the content of the website on social media platforms, collect feedbacks, and other third-party features.
Performance cookies are used to understand and analyze the key performance indexes of the website which helps in delivering a better user experience for the visitors.
Analytical cookies are used to understand how visitors interact with the website. These cookies help provide information on metrics the number of visitors, bounce rate, traffic source, etc.
Advertisement cookies are used to provide visitors with relevant ads and marketing campaigns. These cookies track visitors across websites and collect information to provide customized ads.