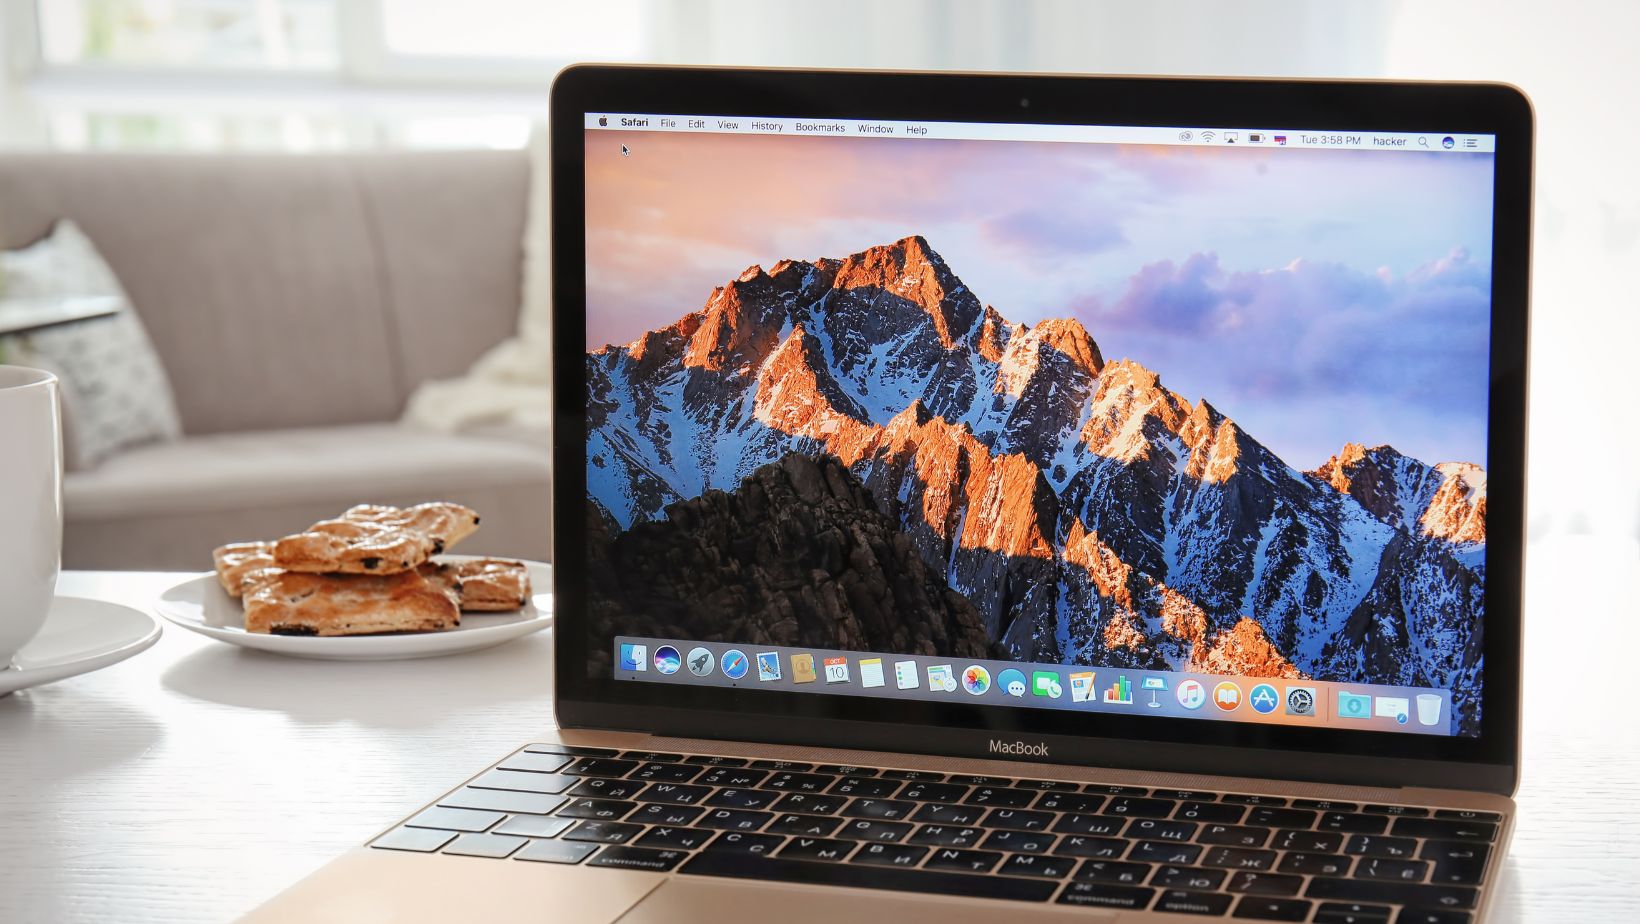
We all enjoy running the latest Mac OS version because it’s usually the one that has a variety of new features. On top of that, the latest OS version also tends to have better security and new programs as well. That’s why it’s important to keep your computer up to date with the latest version. But realistically, there will always be situations when you end up with OS problems, and the idea to roll back can be very good. However, when should you roll back, why should you do that and how can you do it? Let’s find out!
Why Should You Consider Downgrading from Mac OS Sequoia to Sonoma?
There are different reasons why a user would choose to roll back and downgrade to an earlier system. Some people want that earlier OS because they used older apps that don’t work on Sequoia anymore. That’s a legitimate reason and a lot of people are doing this, just because they find it to be extremely helpful and versatile.
Additionally, if you have an older computer, downgrading can give you better performance for the device. And yes, the app stability could be very much improved as well, not to mention the entire user experience will be more reliable.
Use a Mac Cleanup Tool Before Downgrading
A Mac cleanup tool can be very useful because it allows you to solve various Mac problems. It can delete malware, it will free up space and perform all kinds of fixes. The thing is, if you use a Mac cleanup tool, you will have a performance boost and a lot of the time, you may not even have to downgrade in the first place. However, if you still need to downgrade, you just need to follow the guidelines below.
Follow these Tips to Downgrade from Sequoia to Sonoma
Use Internet Recovery
In case you have an Intel-based MacBook, you have the option to use Recovery mode in order to downgrade. One caveat here is that the method won’t work for every model. It might work for some, but it might also not cover others, so keep that in mind. Make sure that you create a backup of all your important files before you try any of this.
- Make sure that you shut down your MacBook
- After that, hold Shift+Option+Command+R buttons, along with the power button.
- When the Apple Logo shows up, release the keys
- Sometimes you could get asked to connect to Wi-Fi or they might ask for your Admin info, share that.
- Then, you can choose to Reinstall Mac OS and press Continue.
Using Time Machine
- The most important thing is to connect a backup disk to your Mac. The backup disk should have the Time Machine backup of your Sonoma installation on it.
- After you do that, you need to restart the device in Recovery Mode. Hold down the power button until the startup options window, and here you press Options, then Continue.
- Now you want to select the options to Restore from Time Machine Backup. Press Continue the 2 times, when requested.
- Pick the Time Machine disk, select the backup and click Restore.
- Now, you will have to wait until your machine gets restored to the backed up version. And you’ll have Sonoma installed.
Obviously, this approach only works if you are using Time Machine and you already have a Sonoma backup already made. If not, you can choose one of the other options and ensure that you get the best possible results.
Uninstalling Sequoia and Using a Bootable Installer
- At first, you want to get Sonoma from the App Store. Connect your USB stick or external drive you want to use, and then name it the Sonoma Installer.
- After that, you need to enter the Terminal and write this command “sudo /Applications/Install macOS Sonoma.app/Contents/Resources/createinstallmedia –volume /Volumes/Sonoma Installer”, but replace MyVolume with the External Drive or USB name.
- Now, you need to enter the Recovery mode, go to the System Settings/General/Startup Disk/ and then pick the Sonoma Installer, shut down your Mac and boot into recovery mode.
- Select Disk Utility, choose the Startup Disk and here you want to press Erase. Now you want to exit Disk Utility and choose the option to Reinstall Mac OS Sonoma.
Conclusion
Downgrading an operating system isn’t always the preferred option, but it ends up being necessary due to various use cases. That’s why we highly recommend downgrading your Mac OS whenever you encounter stability issues or worse, incompatibility with the previous apps you were using. These 3 methods shown above are very helpful, and they will help you downgrade from Sequoia to Sonoma without a problem. And yes, they can easily be used to downgrade to even older operating systems, should you need it. However, you always want to make sure that you have a backup for all your crucial data.


