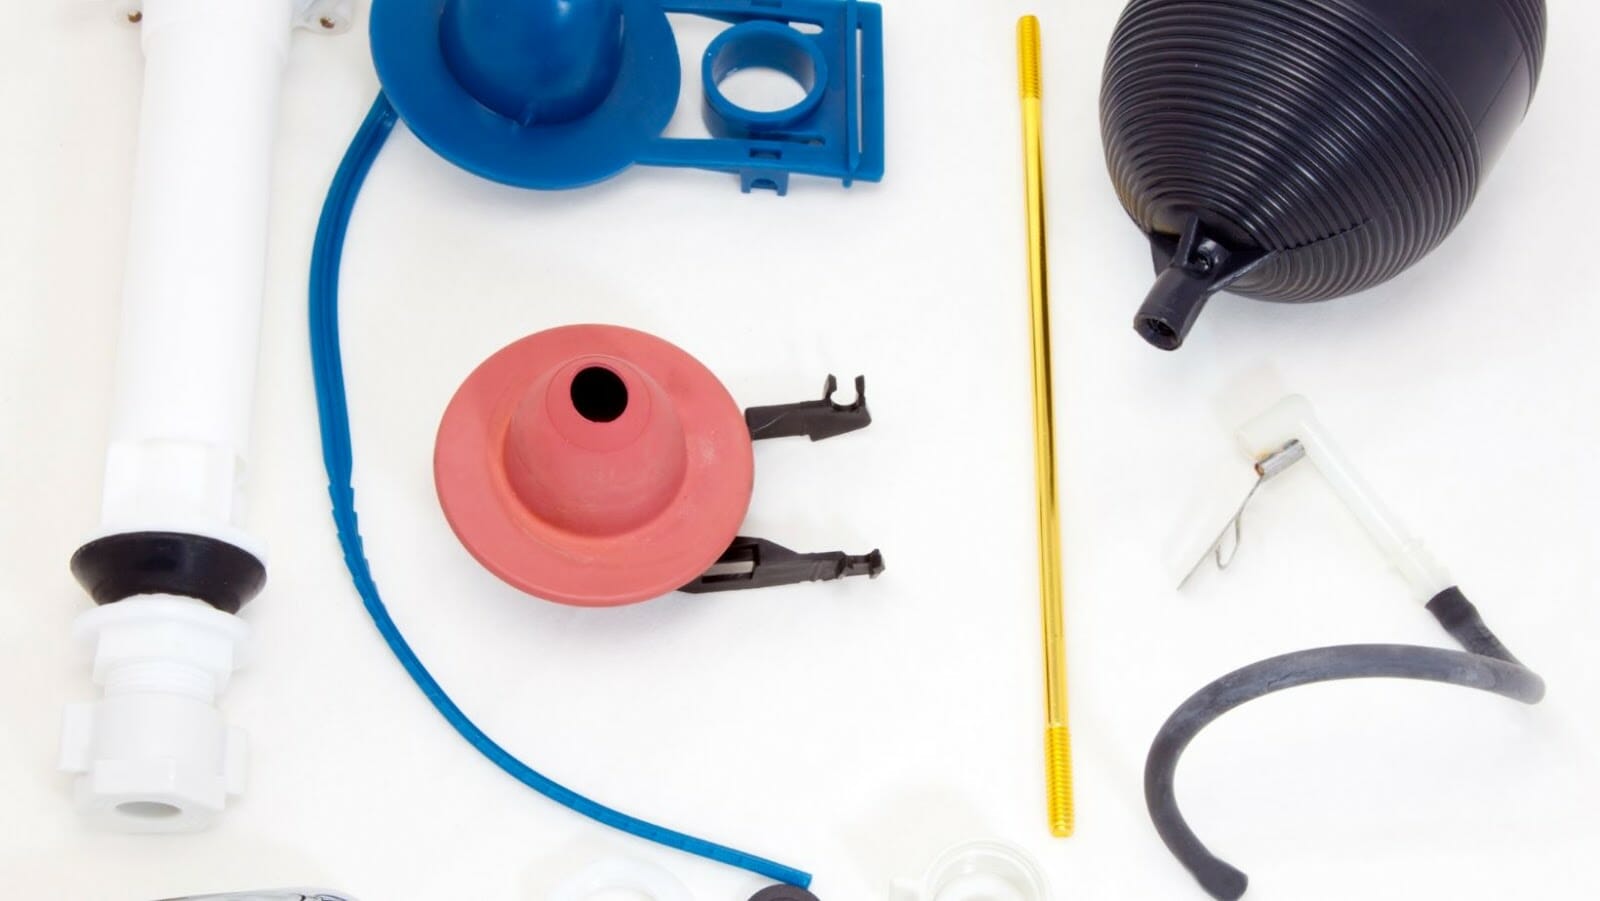
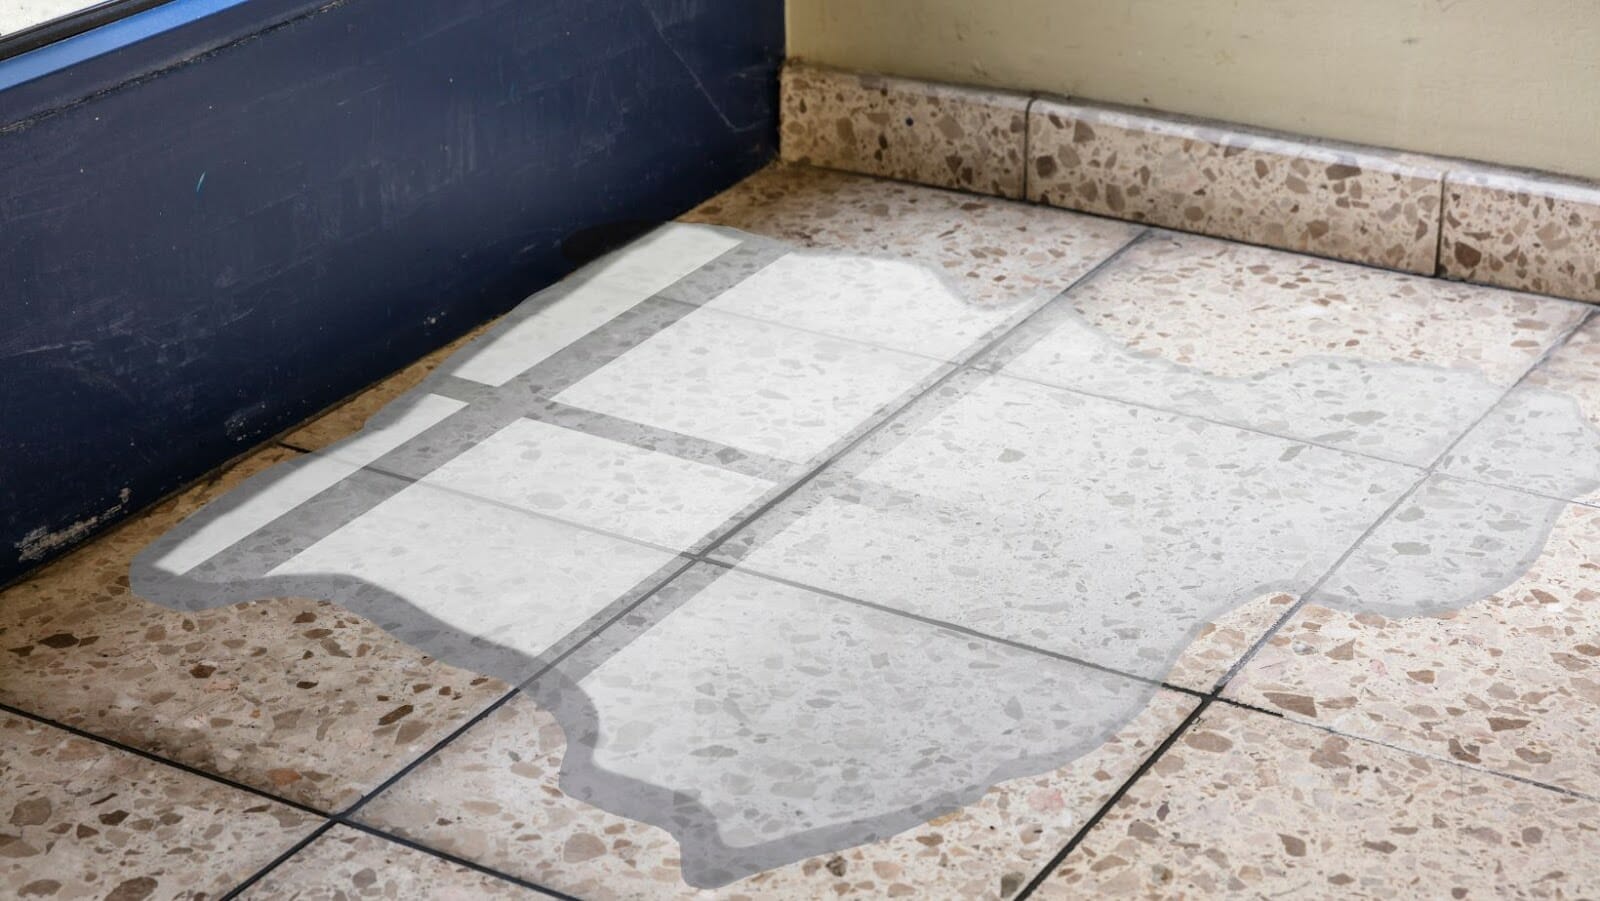
A toilet flapper is a part of the toilet responsible for closing and opening the connection point between the toilet bowl and the tank. The act of flushing the toilet causes the tank float to rise, allowing water to flush out and fill the tank quickly. Leaks are likely to occur in an old and worn tank float. If your bathroom constantly leaks, it’s not just an annoyance; it’s also a waste of water and money.
Toilet flappers require maintenance. You may get into trouble with constant water leakage problems without proper care. Sometimes, a toilet flapper leaking because of a degraded seal can go unnoticed. Taking help from professional experts always helps you rectify these kinds of leakage problems.
Knowing something about flappers helps you overcome the problem yourself. But when the problem gets worse, take the help of the service expert to rectify the issues. Experts who provide bathroom installation and leak detection can fix the problem more quickly. You can even schedule a call with experts to resolve the issue. But still, it is recommended to know the efficient ways to fix the toilet leakage problem.
Check For Debris
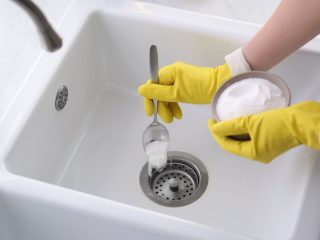
Check the flush for any debris that might prevent it from sealing correctly. This could be anything, from dirt and grime to a fragment of toilet paper that has become lodged. Remove any debris you find and check to see if the problem persists after doing so. Specific cleaning products are available to remove deposits from submerged elements in the water. Baking soda, white vinegar, and hot water solution is cost-effective, works effectively within your tank when combined, and quickly removes the clog and debris.
Adjust The Chain
If the chain that connects the flapper to the handle is too short, it won’t be able to create an effective seal. If the chain is too long, it has the potential to get caught under the assembly after you flush, which will result in a leak. Don’t worry about it; to get around the issue, you need to make a quick adjustment by hand. After that, give the toilet a flush to see if it still functions properly. Simply shorten the chain so that there are fewer links between its attachment point and the flapper.
Replace The Flapper
When there is no stopping toilet flapper leaking after all the adjustments, you’ll need to replace the entire flapper assembly. Before you get involved with disassembling them, you will need to cut off the water supply to stop the tank from filling. You must flush the toilet multiple times to ensure that all the water in the tank is drained.
To replace the old valves with new ones, you need to unscrew the old ones and screw in the new ones. Make sure the replacement you get is designed to work with the model of toilet you have.
Clean The Valve Seat
The flapper on most toilets consists of two separate components: the valve seat, which opens and closes the valve, and the seal, which the flapper sits on when it is closed. When the flush or the valve seat becomes worn out, water will leak from the tank into the bowl, and the fill valve will cycle on and off or run continuously.
Sometimes mineral deposits will build up on the valve seat, preventing the valves from properly sealing. Simply removing the flush and cleaning the valve seat with a brush or an old toothbrush dipped in vinegar are all required to clean it. After you are finished, give the flapper another thorough cleaning and reattach it.
Replace Flush Valve Assembly
The clear indication that a flush valve assembly needs to be replaced is when water continues to run after the flapper and any other causes have been addressed. Toilets that keep leaking have worn or cracked valve seats that prevent them from sealing and thus stop the water flow. If the entire assembly for the bathroom is in good condition but leaks, it indicates that the flush valve is cracked or worn and needs to be replaced.
Conclusion
Fixing a toilet flush is not a challenging task. All you have to do is to check for the wear, clogs, and adjustments in the flapper assembly. If it still doesn’t work, you can replace the entire assembly. Following some of these efficient ways also help you overcome the leakage problem in the flapper.