Constantly records footage of an area that can be accessed and evaluated later. Setting up CCTV may seem daunting, but following proper guidelines can make it easy. This guide provides a general overview of the setup process, but keep in mind that the setup process may differ depending on the type of cameras and software you have.
Step 1: Check Internet Speed
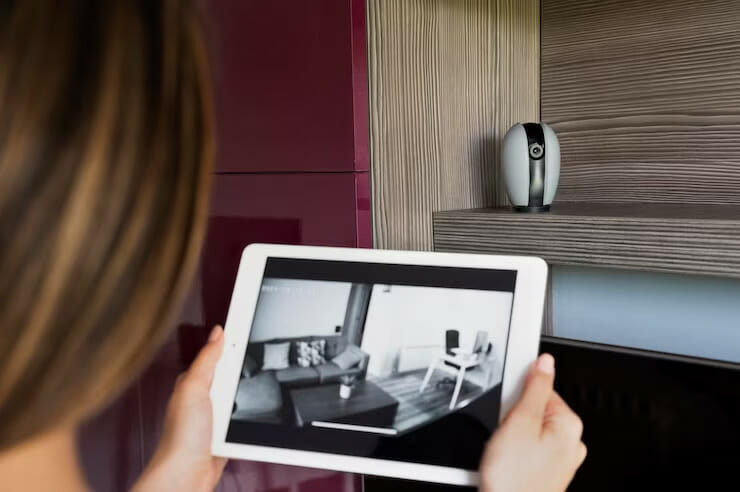
The first step to setting up a CCTV system is to make sure that your internet connection can support the IP cameras you plan to install. Most CCTV cameras today, including IP cameras, require a stable internet connection to transmit footage to your device. If your internet speed is not fast enough, it could cause lag or buffering issues that may make it challenging to access real-time footage
Therefore, it is vital to check your internet speed and ensure that it meets the minimum requirement for your CCTV system. If you’re unsure about how fast your internet should be, you can check out articles on how fast should your internet be to learn more about the ideal internet speed for IP cameras.
Step 2: Choose the Right CCTV System
Choosing the right CCTV system is essential to ensure you get the best security coverage. Before purchasing a CCTV system, you need to determine the size of the area you want to monitor and the type of cameras you require. It’s worth noting that there are different types of CCTV cameras, including dome, bullet, and PTZ cameras, each with unique features and benefits. Consider the size of the area you want to monitor, the lighting conditions, and the resolution you require to make an informed decision.
Step 3: Select the Right Location for Your Cameras
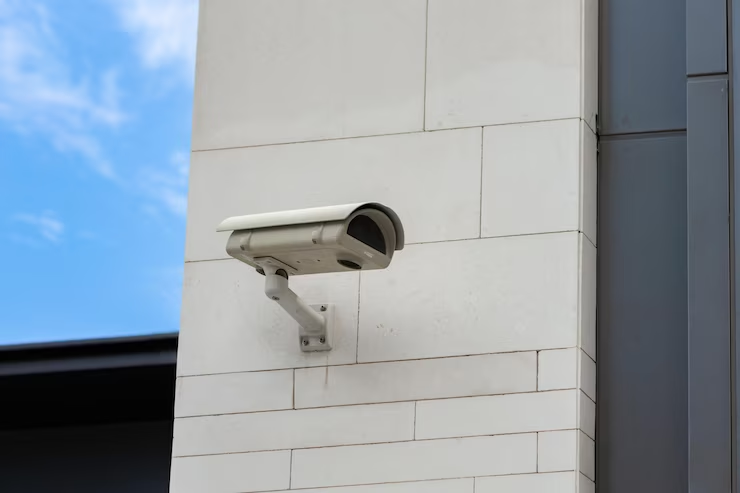
The location of your CCTV cameras is crucial to ensure you get the best coverage. Consider the area you want to monitor and identify the key entry points and potential blind spots. Ensure that your cameras are installed in a location that provides a clear view of the area you want to monitor. Additionally, the location of the cameras should not be too high or too low, as this may affect the camera’s field of view. It’s also crucial to ensure that your cameras are protected from harsh weather conditions.
Step 4: Install the Cameras
Once you have identified the right locations for your cameras, it’s time to install them. The installation process will vary depending on the type of camera you have. In general, bullet cameras are easier to install as they come with a mounting bracket that you can attach to the wall or ceiling. Dome cameras, on the other hand, require a bit more work as they need to be installed in a dome enclosure.
When installing your cameras, ensure that they are fixed securely to prevent them from falling or getting tampered with. Additionally, ensure that the camera lens is clean and free from any debris that may affect the quality of the footage.
Step 5: Connect the Cameras to the DVR/NVR
The next step is to connect your cameras to the DVR/NVR. A DVR or digital video recorder is used to record the footage from your cameras. An NVR or network video recorder, on the other hand, is used to record footage from IP cameras. The type of recorder you need will depend on the type of cameras you have.
To connect the cameras to the DVR/NVR, you need to run a coax cable or Cat5e cable from the camera to the recorder. Once you have connected the cameras, you can then connect the recorder to your internet modem or router. This will enable you to access the footage remotely via your smartphone or computer.
Step 6: Configure the Software
The software that comes with your CCTV system is essential for configuring the settings for your cameras. The software will enable you to set up motion detection, adjust the resolution, and set up notifications when there is activity in the monitored area. It’s important to go through the software manual to ensure you understand how to use it effectively.
Step 7: Test your CCTV System
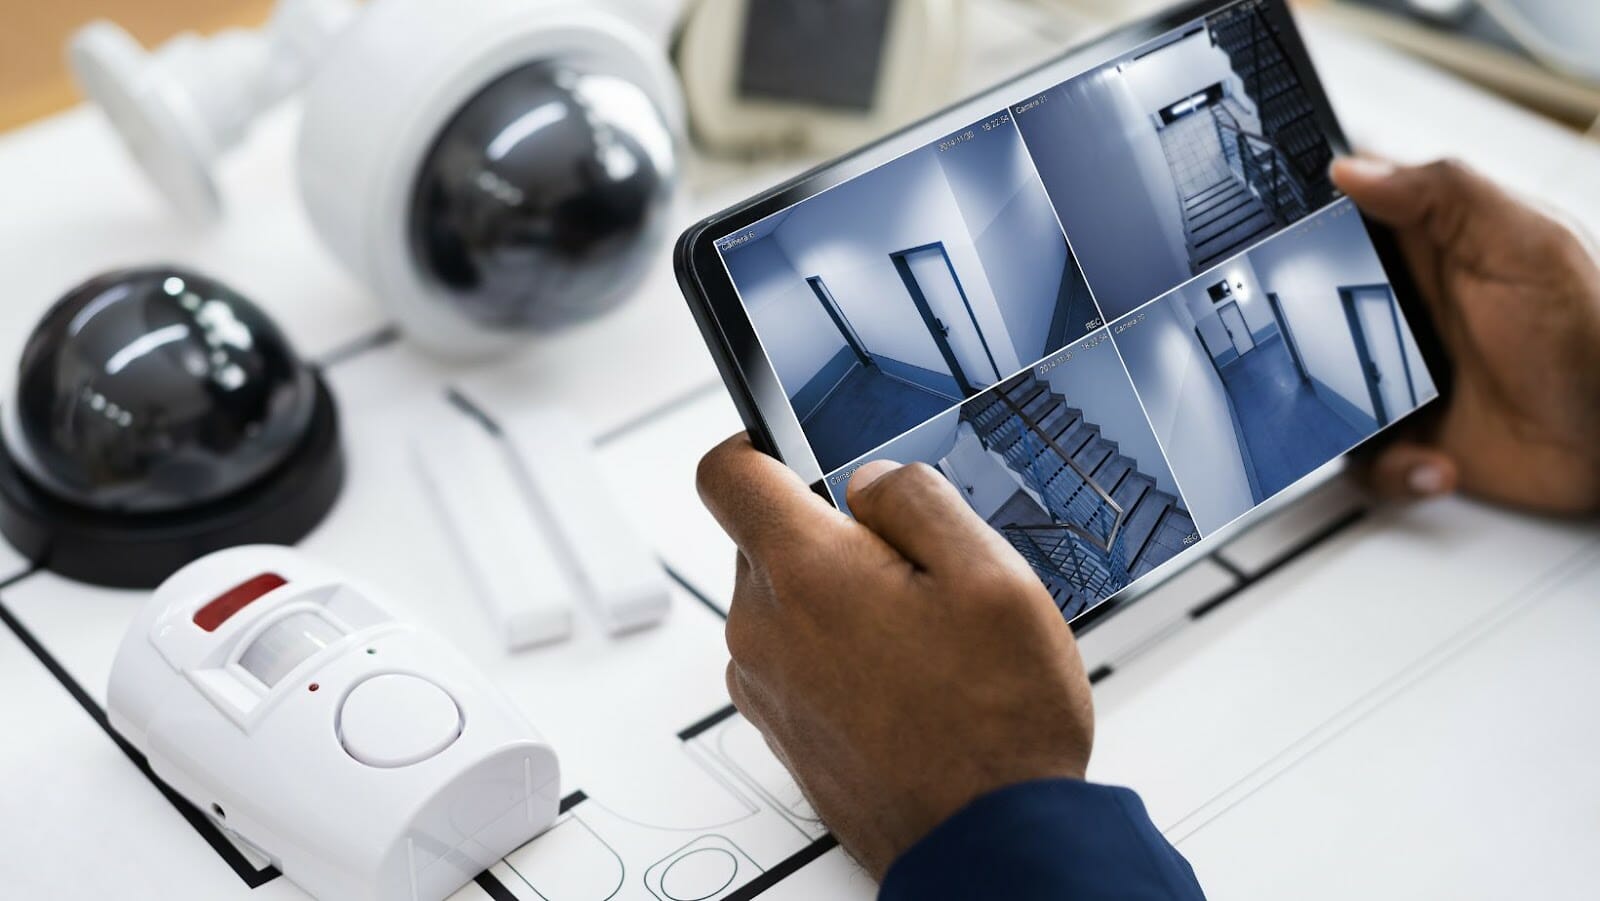
After configuring your CCTV system, it’s essential to test it to ensure it’s working correctly. You can do this by walking around the monitored area to see if the cameras are capturing footage correctly. Additionally, you can evaluation the footage to ensure that it’s clear and of good quality. Testing your CCTV system regularly will help ensure that it’s working correctly and that there are no blind spots.
Step 8: Maintenance
CCTV systems require regular maintenance to ensure they continue to function correctly. You should clean the camera lenses regularly to prevent dust and debris from affecting the footage quality. Additionally, you should check the cables and connectors to ensure they are secure and free from damage. Regular maintenance will help ensure that your CCTV system provides reliable security coverage.
Conclusion
In summary, the importance of setting up a CCTV system cannot be overstated. It provides an added layer of security, helps deter criminal activity, assists law enforcement in investigating crimes, and provides peace of mind for property owners. With the advancements in technology, CCTV systems have become more affordable, accessible, and user-friendly. Therefore, it is highly recommended that home and business owners invest in a CCTV system to protect their property and assets.